Summer is here, which means it’s officially ice cream season!
According to my family, there is no bad time to have ice cream. Growing up, my parents were always big on dessert, which was eaten every night. There was always a pint of Haagen-Daaz ice cream in the freezer for hot summer days, and half gallons of Turkey Hill ice cream were available the rest of the year. Ice cream was awarded as a special treat for getting a hole-in-one on miniature golfing, for getting a good report card at school, or for scoring a goal during a soccer match.
I was good at mini golf, was a straight A student, and loved soccer, so as you can imagine, I’ve had a fair amount of ice cream. While growing up with Baskin Robbins and Carvel, I’ve since branched out to Ben n Jerry’s, Talenti Gelato, Breyer’s, and all of the other familiar brands, both dairy and dairy-free alike.
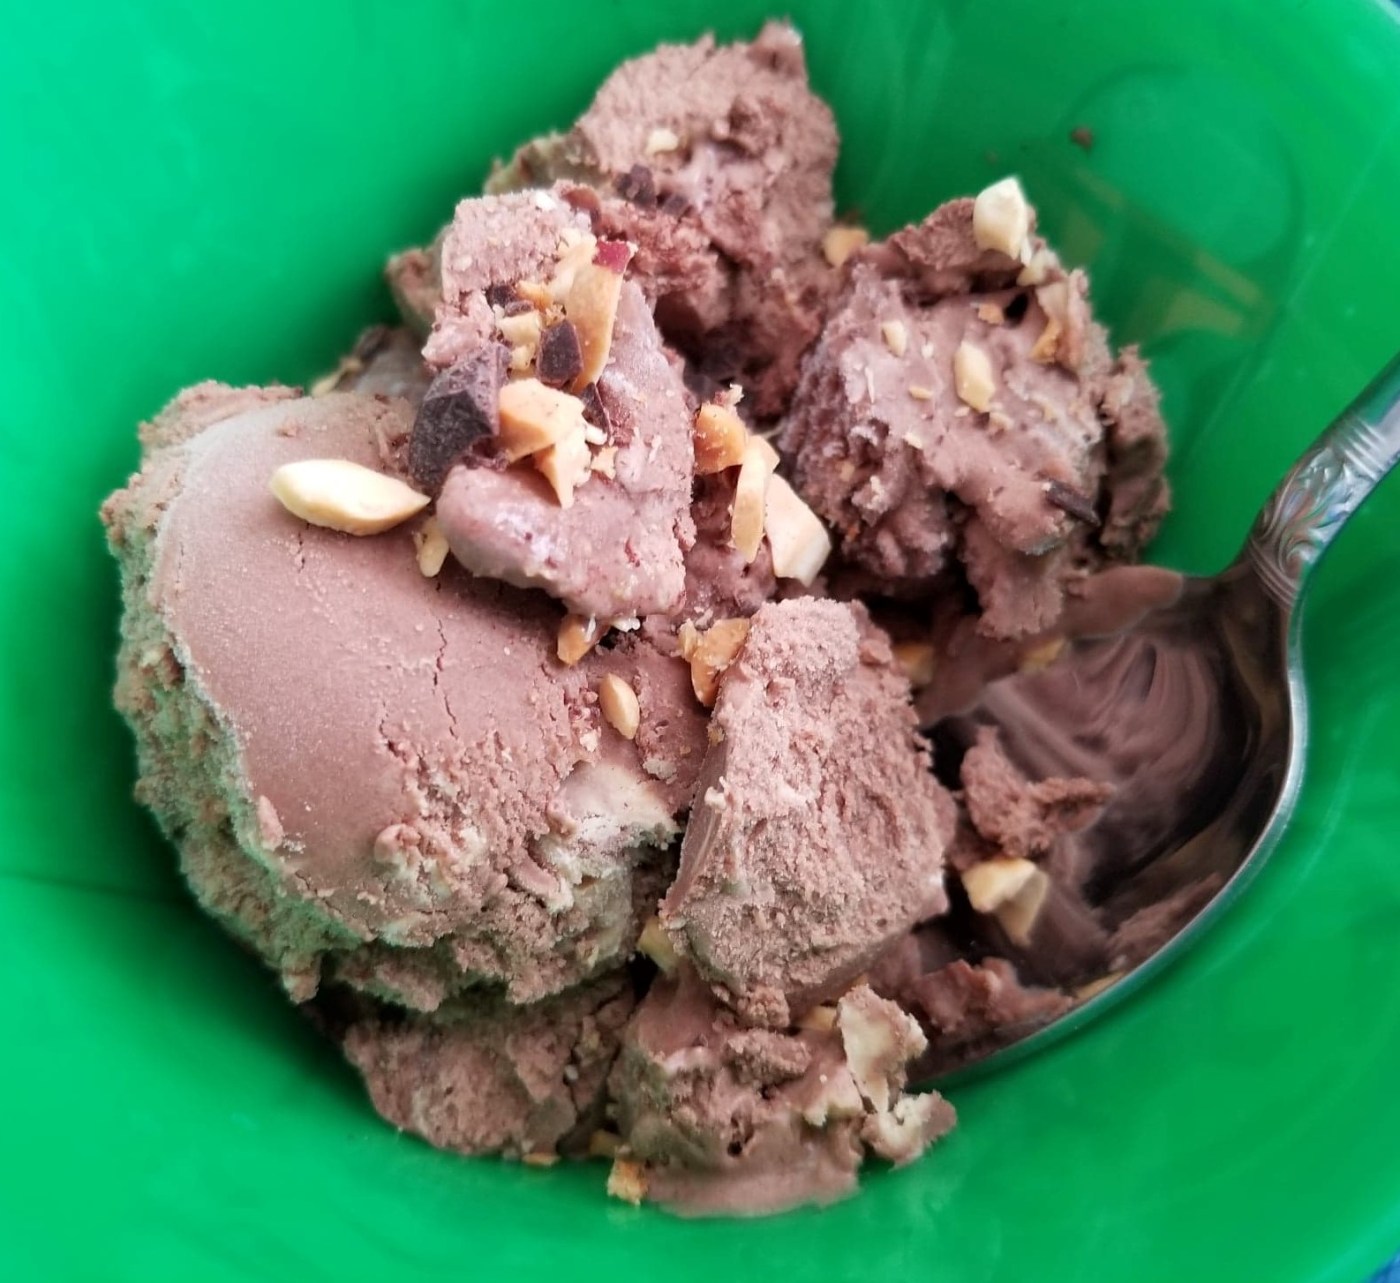
My favorite part of trying out different kinds of ice creams is all of the different flavors. I was recently in Kitchen Kettle in Pennsylvania and got to try some Butter Brittle ice cream. While initially hesitant at the thought of eating ice cream with butter in the name, it was actually really creamy, with strong toffee notes sprinkled throughout. After heading home, I decided that it was time to bust out the ice cream maker and see what I could make myself. I decided to start with an old stand-by and everyone’s popular favorite: chocolate peanut butter.
Cookware
–Ice cream bowl
–Electric mixer
–Ice cream maker
Ingredients
-2 cups of heavy cream
-4 eggs
-2/3 cup powdered sugar (or Confectioner’s Swerve for a tasty low carb version!)
-1/2 cup dark cocoa powder
-2 tablespoons PB2 powder
-2 teaspoons vanilla extract
-1 tsp chocolate vodka* (regular vodka works too!)
-Pinch of pink salt (or sea salt)
*The vodka is optional! Feel free to omit it, but it’s just there to help the ice cream freeze properly so you got that smooth, creamy ice cream texture. The alcohol helps to prevent the ice crystals from forming, which helps make the ice cream softer and easier to scoop. Just like anything when it comes to cooking or baking, it’s all science!
Steps:
- Place all of the ingredients in a bowl and stir with a spoon until combined.
- Mix with an electric mixer until well mixed. Run through it with a spoon again to make sure there are no lumps.
- Put it in the refrigerator for 1-2 hours. The goal here is to just chill the mixture a bit to reduce the overall churn time.
- Pour the mixture into your ice cream maker and churn according to manufacturer’s instructions. It usually takes my ice cream maker about 20-25 minutes to fully set up.
- While you’re waiting, make sure to put your ice cream bowl back in the freezer before you’re ready to put your ice cream in it. If you’re working in a hot kitchen, this can help prevent your ice cream from melting as soon as it hits the bottom of the container.
- Let freeze 4-6 hours until firm, then scoop and enjoy with nuts, chocolate shavings, or whipped cream! Enjoy!


Leave a comment